

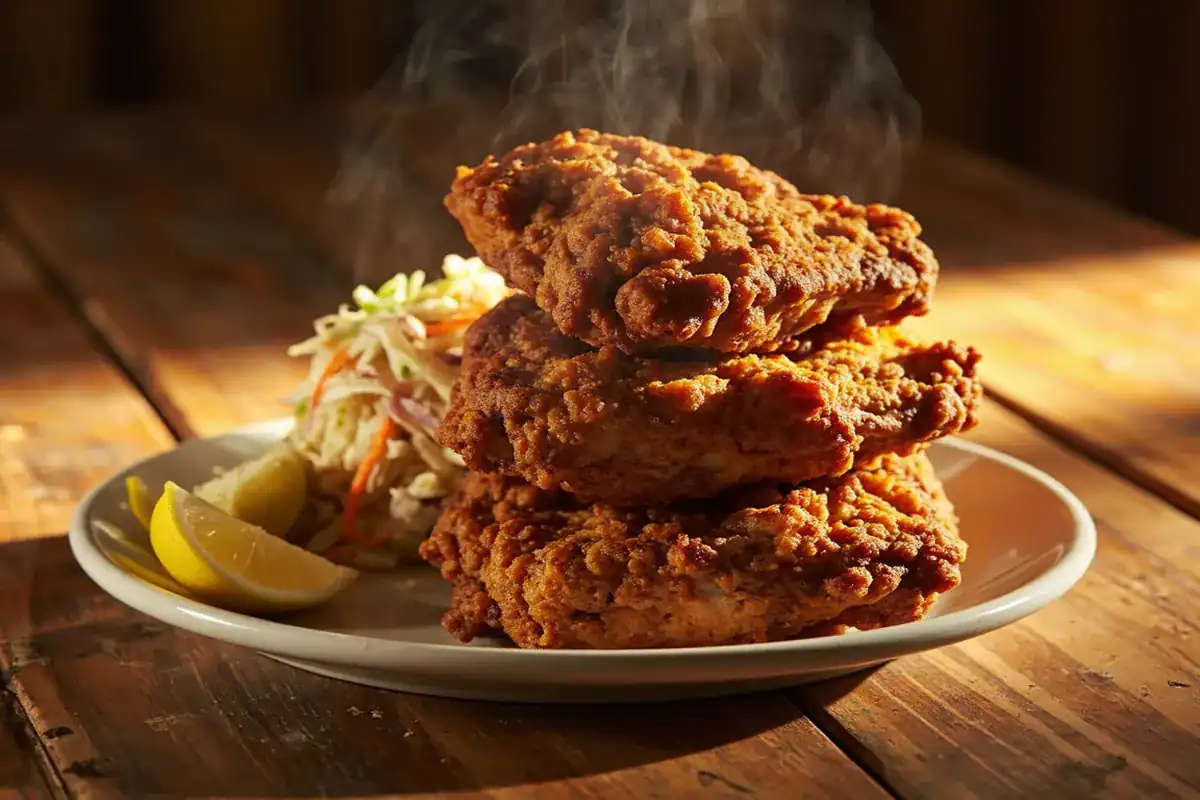
Illustrative serving image, not a documented photograph of a kitchen-tested batch. Lemon and slaw shown are separate side dishes.
Jump to ingredients and method
Buttermilk-marinated chicken with a gluten-free flour and starch coating.
Kitchen-testing note: A documented cooking test is pending. Timings in the method are estimates; finished yield and results have not been confirmed in our current testing log. Nutrition figures and unsupported historical rating totals have been removed.
Before you cook
Do not rinse raw chicken. Marinate in the refrigerator for at least one hour; the coating rest and batch frying add more time. Keep raw-chicken tools separate from serving tools and discard used marinade and coating. Oil temperature and chicken internal temperature are different measurements.
See USDA guidance against rinsing raw poultry.
Choosing gluten-free ingredients
Check the exact products you buy, especially flour, oats, bread, pasta, sauces and broth. Gluten-free labeling and third-party certification are different. A recipe page or scanner cannot guarantee a dish’s preparation. Use clean equipment and protect ingredients from contact with gluten-containing foods. Gluten-free does not mean free of dairy, eggs, nuts or other allergens. See the FDA guide to gluten-free labels.
2x and 3x show total ingredients for two or three separate batches. Cook each batch using the original method: amounts written in the steps, pan sizes and cooking times apply to one batch.
-
1Preheat and Prep Do not rinse the raw chicken. Pat it dry with disposable paper towels, then place it in the buttermilk, cover and refrigerate for at least one hour. Wash hands and clean surfaces after handling raw chicken.
-
2Mix the Dry Coating In a large shallow dish, whisk together the gluten-free flour, cornstarch, paprika, garlic powder, onion powder, salt, pepper, and gluten-free baking powder.
-
3Coat the Chicken Remove each chicken piece from the buttermilk, letting excess drip off. Dredge thoroughly in the flour mixture, pressing gently to form a thick coating. Place coated pieces on a wire rack and let rest for 15 minutes to help the coating stick.
-
4Heat the Oil In a heavy-bottomed pot or Dutch oven, heat vegetable oil to 350°F (175°C). Use a thermometer to maintain the temperature. Too hot burns the coating; too cool makes it greasy. Choose a deep, heavy pot with ample headroom; oil must not overflow when chicken is added. Keep water away from the hot oil.
-
5Fry the Chicken Add pieces carefully without overcrowding. Fry in batches, turning for even cooking and adjusting heat to maintain the oil around 350°F. The old estimate was 10–12 minutes per side, but size changes timing: use a food thermometer to confirm at least 165°F at the thickest part, avoiding bone. Keep raw and cooked utensils separate.
-
6Drain and Rest Transfer cooked chicken to a clean rack to drain. Rest about five minutes before serving. Discard the used raw-chicken marinade and coating.
Food handling and leftovers
Use a food thermometer and the safe cooking temperature chart. Refrigerate perishable food within two hours, or one hour above 90°F, in shallow containers as appropriate. Keep the refrigerator at 40°F or below. Use refrigerated cooked leftovers within 3–4 days; reheat cooked leftovers to 165°F. These are general handling limits, not a tested texture or shelf-life claim for this recipe. See USDA leftover guidance.
Browse the gluten-free recipe collection and read each recipe’s current testing notes.
Rate This Recipe
Did you make this? We'd love to hear how it turned out!